Friday, April 2, 2010

Vacation Bench Racing

The custom grind camshaft I got for the car is close to the Comp Cams XR273HR cam, just some difference in the Lobe Seperation Angle and the advance of the cam. I ran the XR273HR through CamQuest, modeling the L33 with it's LS6 heads, headers, free flowing exhaust, a .030 mill of the heads to bump compression to 10.6:1, and the XR273HR combo should be good for 429HP and 380 ft/lbs of torque. Surprisingly, the two step smaller XR265HR models to 460HP and 401 ft/lbs of torque in the same combo, with a slightly stronger lower end. We'll have to see how it works out. Either combo should put the car in the deep 12s, if not knocking on 11 second timeslips at over 110 mph.

I took a couple pictures after cleaning up the harness. For a small, waterproof fuse block, I use the 6 position weatherpack connector with a clear cover. It provides three fuse positions, and a nice flat area for a label of the fuses using a Brother 1/2" tape label.


Here is the modified harness. I took out a few pounds of wire, reterminating nearly all the connections on the PCM. The Carolina Auto Masters tuned PCM is on the left side of the picture.

Thursday, April 1, 2010

Tuning at Carolina Auto Masters


Drove out to Durham, NC yesterday to visit Jeff at Carolina Auto Masters. Selected Mutt's cam from the boneyard of small cams customers upgraded from, and got a good little cam to give Mutt a bit more go along with the free flowing exhaust and headers, and a small shave to the heads.

While there, Jeff reprogrammed the PCM to remove unnecessary emissions, match it to the cam, set the right tire size and rear end gear ratio, and tune the transmission. About the only negotiation was on the WOT 3-4 shift speed where I asked Jeff to back it to 130 MPH. Past experience open road racing showed the car cruising between 130 and 145, and I thought 130 would have the car downshifting too much if I open road race again. The difference in shift speed is around 600 RPM, taking it from just over 6000 rpm to just under 5500 rpm.

Carolina Vacation

Took my knitting along on vacation. Actually the engine harness and PCM. Repinned the engine harness to take out many feet of excess wire.

Just in Time Shipping

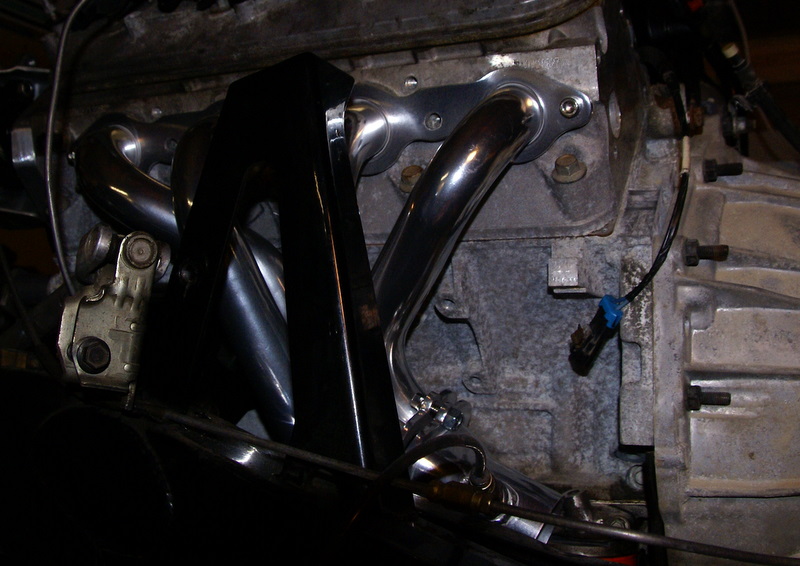
Ordered up headers from Street and Performance two weeks ago, and they arrived Friday, right before I headed off to the east coast on vacation. This was timely, allowing me to figure out O2 sensor wire length for the harness rework.


My restored gauges also showed up. I had my amp gauge and oil pressure gauge restored and modified. The ampmeter was converted to a voltmeter, and the oil pressure gauge changed from 60 psi to 80 psi.


The tach is a aftermarket VDO tach. It was refaced with a corvette replica face and a 6500 redline (motor redline actually 6600, but close enough).


Speedometer was cleaned up, and a new odometer installed. No more rusty black face. Along with these gauges, had the fuel/water gauge restored, and the clock restored and had a quartz movement replace the original fire-prone unit.

Belt Routing


After weeks of work on brackets, last weekend I finally figured out I wasn't routing the belt the most efficient way. This became obvious as I was designing the tensioner bracket. I'll need rev 2 of the bracket - I need to pull the base away from the steering linkage a bit, but I'm pretty close. Tensioner also needs to be moved closer to the block a bit to center the pulley. A final belt needs to be purchased - I cut down a used belt and safety wired it together to give me something to work and use as a template.

Tuesday, March 16, 2010

Idle progress

This past week a coworker turned a shaft for the idler at the 10 oclock position to the power steering pump. Still work to do - probably located the idler a bit too low, so need a slightly smaller pulley. Have a block of aluminum that can be turned for that pulley. I'm debating another idler below the alternator, but I think a shorter belt is the correct solution. The new plate in the lower right is to accomodate a tensioner for the accessory drive.


Here's the shaft for that idler pulley. I'm making a plate that will attach to the power steering bracket to capture the shaft so it isn't a big lever.

Also this weekend I worked on the motor mount plates. No pictures yet.

Sunday, March 7, 2010

One Bracket down

Was out of town last weekend, so no work that weekend, and this weekend was abbreviated with out of town guests and a visit to my CPA to get my taxes going. I did get a few hours in to work on the alternator bracket, and it is now nearly done. I made the two spacers, located the two holes on the top bracket for the spacers, and did some finish shaping on the front and rear plates. Sounds simple, but took the better part of four hours. Next up is getting a coworker to turn down some round stock for a couple idler brackets, and figure out the tensioner bracket.

The TSA probably freaked out last weekend. I pulled a box out of storage, put my ATO fuse block, some miscellaneous wiring, some Aluminum stock and a few other things in the box, and checked it on my flight home. When it came off the conveyor, it had fresh tie wraps securing it, and a TSA inspection form letter inside. With the fuse block now home, I've started modifying the main harness for the modern block, and will be increasing the circuits available with the harness.