Saturday, March 2, 2013

Donut Derelicts

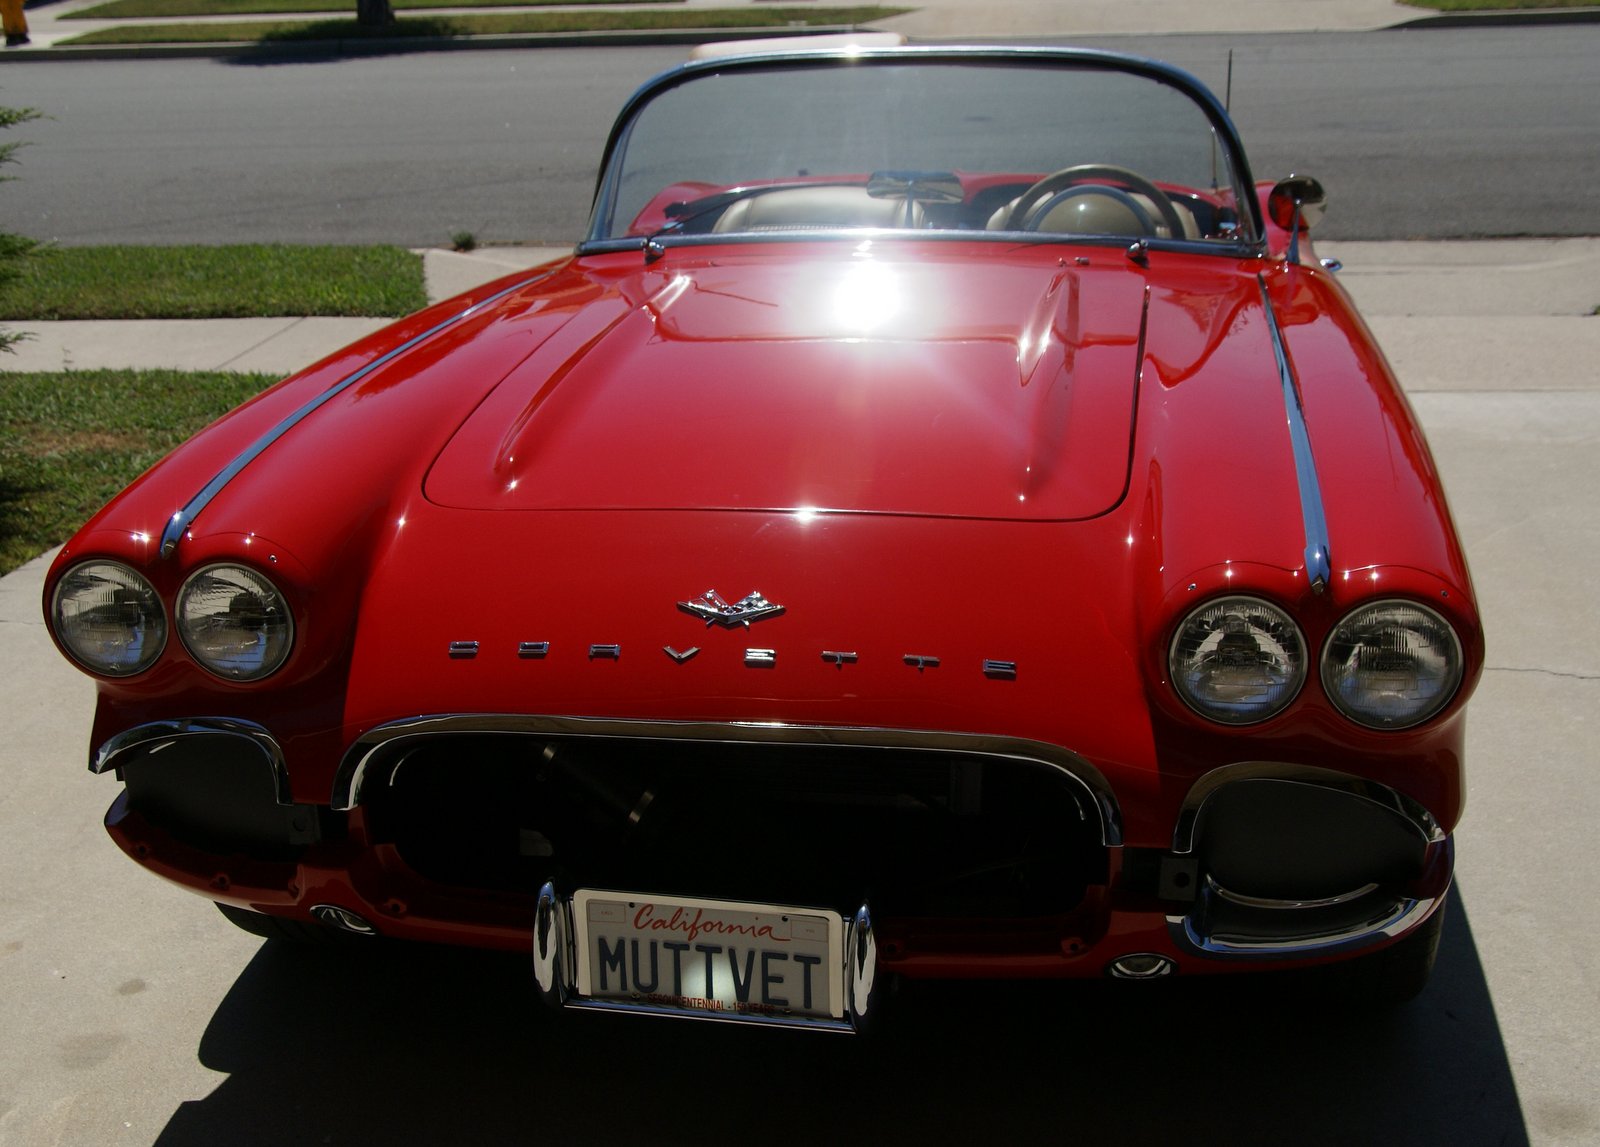
Mutt spent last week at CW Restoration getting a few paint blemishes cleaned up. Last night I got the rest of the trim on the nose, and got the grille in for the first time. 


This morning my son Jonathan and I took her down for her debut at Adams Street Donuts - home of the Donut Derelicts. When we got there at 6 am, the parking lot was pretty full. Always the eclectic collection of cars, including a steamer, late model Corvettes and Vipers, and everything in between.


Jonathan and I stood off to the side and watched the action around Mutt. Interestingly, most folks paid attention to the late model LS motor under the hood, but nearly everybody missed the fender flares, the C4 suspension underneath, and the other modifications that make Muttvette a Mutt. 


I need to get the front bumper on this weekend, and need to get the car over to Little John to get the interior finished up. The serpentine drive also needs work - the belt has been squealing, and a quick look last night let me see it flopping between the crank and alternator. Looks like I need an idler on that side to keep it from bouncing on the water neck. I've als got to diagnose why I'm throwing P0171 / P0174 codes - System Too Lean - did a visual for vacuum leaks last night, but didn't see anything obvious. Overall, put about 9 miles on today, and 6 miles up and back to the shop, so finally getting miles on the car.

Monday, February 18, 2013

First Real Drive

Progress has been in fits and starts over the last several months with a small birthday for my wife and the celebratory European cruise, the birth of a grandchild, and a trip to Mexico to build a house for a needy family. Over this time was a number of Gilligan's Island projects - getting all the stainless on the doors and fenders, reforming one end of a piece of stainless that was too long, putting the door glass back in, drilling out parking light sockets and fitting in new snap-in sockets, and a host of other small details. The September  list of  to does is nearly done, and with an emergency trip to Vermont, decided to see if CW Restoration could take the car for a few days to knock out a few clean-up details that were required, several  self-inflicted. 
Putting gas in at a gas station - felt good except for the $4.399 price for 91 octane.

Heading over to the shop. She sounds good, but there's a belt squeal I've got to deal with when she comes home next week. 

Sitting in the driveway - door locks, stainless, door post and door glass all installed. All that's left is the felts and stainless around the door glass. 

The dark side. Red's pretty deep in the shade. 

And a lot more orange in the sun. I think I ended up with Torch Red instead of the Victory Red I intended, but it looks great just the same. 

After I finish up the front trim, grille and bumper, it will be time to get it to an upholstery shop to finish the interior. At this time it's spend the money rather than another four months of little details in my spare time.

Sunday, September 23, 2012

What Goes Around

May not be going around in the right direction. I've been plagued with why my power steering had no pressure, and had a revelation today as I was meditating. Clockwise is not the same as counter-clockwise. I told my wife the pump was mounted backwards and spinning the wrong way and her simple solution was just bolt it on the other way. Not quite so simple. Rather than mucking with the accessory mounting points, it's time to just replace the LT1 pump with it's reverse rotation with a CTS-V pump designed for the accessory bracket I have. 

Slow progress over the last month, but checked a few things off the list. Finally got the instrument cluster bolted to the dash. The designer should be shot - cluster sits in front of the padded dash - trim the excess foam out, but it still needs to compress the vinyl a bit to fit. Solution was for me to be under the dash on my back with a couple pin punches, and my wife to be sitting on top of the seat and using her feet to push the cluster into location.

Headlights working (on low beam - thing the relay is out for high beam), taillamp and stoplamps working, fan working, voltmeter working. Still need to debug the tach. Wires dressed under the driver's side of the dash. Need to do the same on passenger side where PCM sits. Always lots to do.

Saturday, July 14, 2012

Birthday Cleaning

Earlier this week I polished and waxed the car for my birthday. There's still quite a few pieces of trim to finish putting on the car, but she's starting to look like a finished car.


Front shot. She still needs front bumper, grille, and left lower eyebrow and lower grille surround.

Driver's side still needs the door post, upper fender trim, door trim, and door lock.

Back is pretty much complete.

Right side pretty much same state as the left, needing the door post, upper fender trim, door trim, and door lock installed.

Windows still need to be installed in the doors, and the stainless trim around the doors and on the deck lid and glove box door.

She still looks good just the same.

Took my granddaughter for a quick trip up the street.
Posted by Picasa

Got SuperCooler

Installed the largest B&M supercooler available as a transmission cooler, since the BeCool radiator has no integral tranny cooler. This cooler is twice as thick and 50% taller than the previous cooler I was running. B&M recommeded I at least run the thicker cooler, but went the full distance for an additional $16 dollars. Hopefully this will give me long life out of the transmission.

Given the routing around the bat wing pan, I just opted for braided line from the tranny to the cooler. I should put a heat shield where the line runs close to the exhaust, and add some abrasion protection so I don't have braided line cutting through aluminum parts.

Summit Racing gave me a challenge in the installation. I ordered a pair of 3/8 inverted flare to AN6 adapters, but got caught with a misship, where one of the packages inadvertantly had a 5/16 inverted flare to AN6 adapter. To temporarily get things together I made a short tube assembly with 3/8 flare on one side and an AN6 tube nut on the other, and used a AN6 male-male fitting to finish the job.


Posted by Picasa

Sunday, July 8, 2012

Got Bumpers a.k.a. Gilligan's Island episode 39

My lovely wife now grocks the Gilligan Island references on the car. The rear bumpers are stock - the rear fenders are not - they have a slight bulge flaring out to clear the 275/40R17 tires. Fitting the bumpers consistend of elongating the mounting holes, test fitting, and repeating the process until they fit. It also required making a shim for the outer mount to kick the bumper out far enough from the side of the fender, and a shim under the side mount. I had some rigid plastic known affectionately as Dam Rubber, not damn rubber, due to it's past use as air dam material. In a previous life the stuff was anti-static work bench mats. I made the shims out of that material. Once everything was fitting well, I was able to locate the hole for the side bumper mount and carefully drill through the pretty paint, hoping I got the location right.


After doing all this work, I cleaned and waxed the back of the car, then started mounting the bumpers, discovering I needed a bit more shim - one hardened washer on the upper outer hole between the plastic shim and the bumper, and needed to elongate the side hole to line it up. I also had some cross-threading on the outer right mount, so it was a couple hours of tedious work to get the right bumper on, then a much quicker 20 minutes on the left bumper. I am happy to report that no paint was damaged in the process.

Since May, I've knocked a good dozen entries off the to do list, but the list seems to keep holding at three to four dozen major tasks to go. Then there's the little mistakes like putting the tumbler in 180 degrees out on the glovebox - it drops in, but doesn't turn and doesn't come out without carefully drilling a hole in the lock housing to release it. There's also the sequencing mistakes - like mounting the rear license plate and chrome surround, then realizing that the license plate lamp housing goes in first. With all these time sinks, I've decided final interior assembly will be farmed out - looking at what other stuff I can trade money for time to finish this car and enjoy some road time this summer.
 Posted by Picasa

Air & PCM

The cold air intake system was finished before the fourth of July. On the left is the new right turn that goes through the radiator support and into the engine bay. I ended up fiberglassing together the aluminum pieces. It could have been welded, but I had the materials and skill to do it with fiberglass.  Several hours of work to save three quarters of a pound, but more importantly, it makes a clean transition along the radiator support. A silicon coupler joins to the MAF/MAP sensor, then the 90 degree aluminum bend brings it into the throttle body. Not pictured, but on the other side of the radiator support, a 45 degree silicon elbow brings it under the hood down to a 90" bend and down to the air filter.

 
The PCM mount was another three hour tour - probably one of those to be continued episodes. The pins on the right side go into firewall insulation hold-down grommets, and the left side bolts to the under dash birdcage. Hopefully not too much lost footroom for the passenger, and clear of the kick panel and speaker.

 
Posted by Picasa